

Create a staff user
1
Open the user list
Go to Management → Users and select Add User. The Create User dialog opens.
2
Fill in the account details
Username (at least 3 characters), Password and Confirm Password (8 to 50 characters), Full Name, Email, and optionally Phone.
3
Pick the role
Choose a Role. Selecting a role loads that role’s default permission set into the matrix below, so set the role before you hand-tune anything.
4
Assign the branch
Branch appears for every role except SuperAdmin and is required. A user assigned to Gulberg Branch only works inside that branch’s floor, sessions, POS, and tabs.
5
Adjust permissions and save
Tick or clear boxes in Module Permissions, leave Active checked, and select Create User.
Roles
Only a platform SuperAdmin can assign the SuperAdmin role. When you are signed in as the club owner, the role list does not offer it, and the API rejects the attempt.
The permission matrix
Roles set the starting point; the matrix decides the detail. Each module gets four independent checkboxes — View, Create, Edit, Delete — across Tables, Members, Sessions, Reports, Inventory, POS, Users, Settings, Tournaments, Tabs, and Expenses.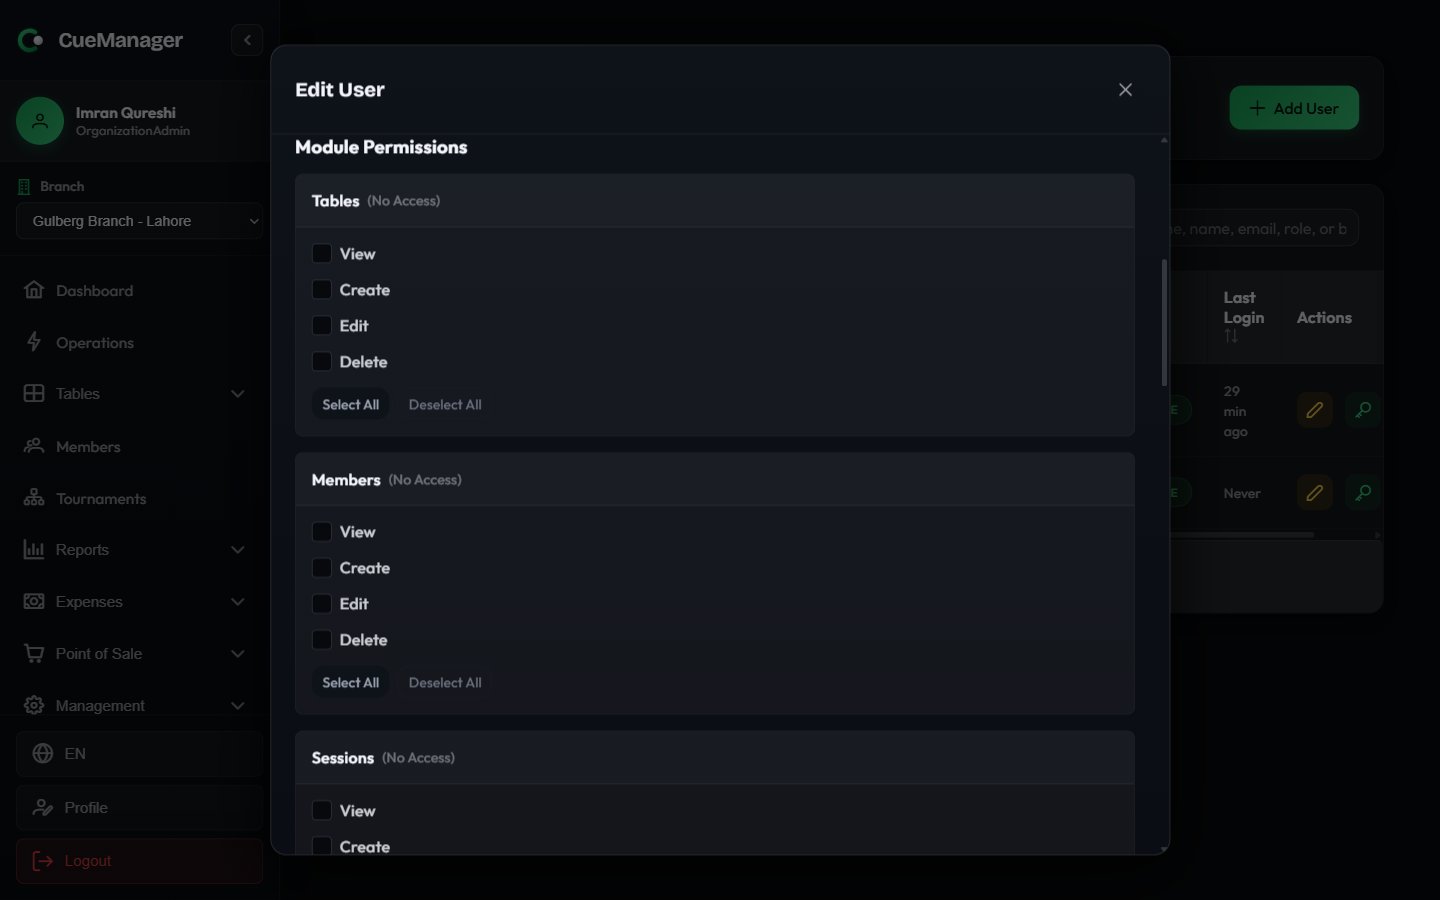
The permission matrix inside the user dialog, with per-module View, Create, Edit, and Delete
- Unchecking View automatically clears Create, Edit, and Delete for that module.
- Checking Create, Edit, or Delete automatically checks View.
Edit, deactivate, or remove a user
The list shows Username, Full Name, Email, Role, Branch (or All Branches), Status, and Last Login, with a search box across all of those. Each row carries three actions.1
Edit (pencil)
Opens Edit User with the same fields. The password is optional here — Leave password fields empty to keep the current password unchanged. Changing the role reloads that role’s default permissions, so re-check the matrix afterwards.
2
Reset Password (key)
Opens Reset Password, where you set a new password of 8 to 50 characters. Use this when a staff member is locked out; it changes nothing else on the account.
3
Delete (trash)
Removes the account after a confirmation.
Related
- Roles and permissions — the access model in full
- Branches — what a branch assignment actually scopes
- Your subscription — every user counts against your plan’s user limit