

Categories
POS Categories is the grouping layer — the strip of buttons across the top of the terminal. Press Add Category and fill in:
The list shows Order, name, description, Items (how many products sit in the category), and status. Use the pencil to edit and the bin to delete.
Items
POS Items is the product list. Press Add Item to create one.1
Describe the product
Enter the Item Name, pick a Category, and optionally add a description, a Product Image (JPEG, PNG, or WebP), and a SKU such as
DRINK-001.2
Set the price
Selling Price is what the customer pays — Rs 100 for a cup of chai. Cost Price is optional and records what you paid your supplier, so the margin on each item is visible when you review the catalog.
3
Decide on stock tracking
Turn on Enable stock tracking for anything countable. Then set Initial Stock, a Reorder Level (the terminal warns below this), and optionally Max Stock. Leave tracking off for open-ended things like table time or a service.
4
Save
Press Create Item. It appears on the terminal immediately.
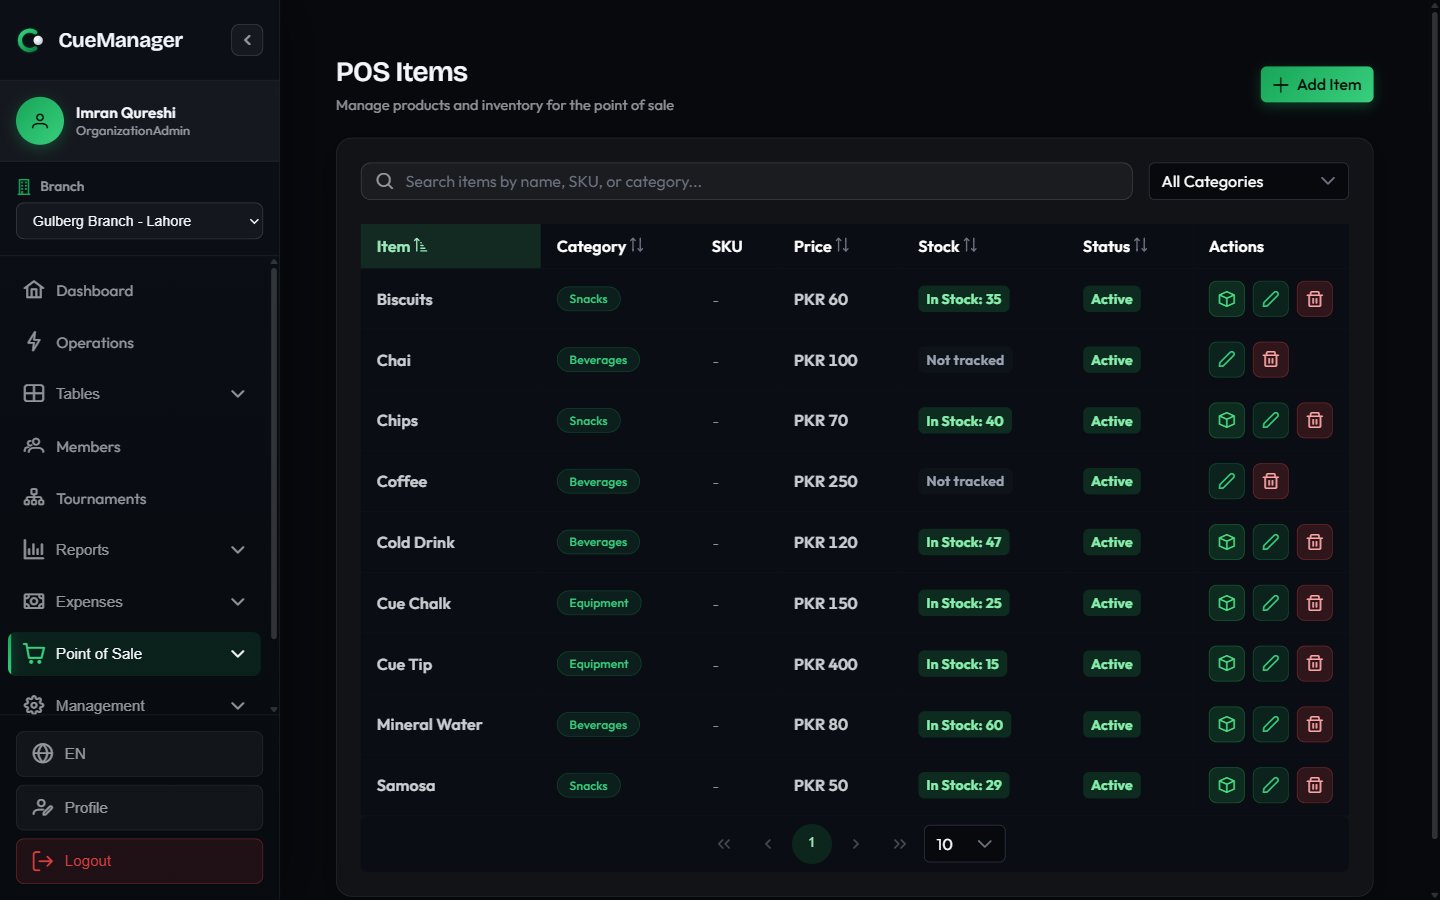
POS items with prices, stock levels, and the stock update dialog
Updating stock
Stock changes through the terminal automatically as items sell. For everything else — a delivery arriving, breakage, an end-of-month count — use the box icon on the item row, labelled Update Stock. The button only appears for items with tracking enabled.
The dialog previews Current Stock, Change, and New Stock before you commit, and every movement takes an optional note. Record the reason — the note is what makes a stock ledger readable weeks later.
Sales history
Point of Sale → Sales lists every sale the branch has taken. Pick a date range at the top; the table shows Sale #, Date/Time, Customer (or Walk-in), item count, Total, status, and Payment.
Payment shows as Paid or Unpaid; a sale added to a tab stays unpaid until the tab is settled.
Row actions:
- View Details opens the sale with its line items, quantities, unit prices, discount, totals, and — where the sale was attached to a session — Charged to Table.
- Receipt prints a receipt. It is available for sales that are Completed and paid.
- Cancel Sale appears only on Pending sales.
Related
The POS terminal
Ring up the items you just created.
Reports
POS sales revenue, top items, and the profit and loss picture.