

Categories
Each new branch starts with seven categories, so you can record spending immediately without any setup:
To change them, go to Expenses → Categories. Select Add Category and set a Name, an optional Description, and a Display order that controls where it appears in dropdowns. Editing a category also exposes Status (click to toggle) — switch it to Inactive to retire a category without losing its history, since inactive categories stop appearing in the expense form but keep their past records.
The Expenses column shows how many records use each category.
Recording an expense
1
Check the branch
Expenses are saved against the branch selected in the branch selector. Switch branches first if you are recording for another location — see Branches.
2
Open the form
Go to Expenses and select Add Expense.
3
Fill in the required fields
Category, Amount, Date, and Description are required. A good description reads like “Electricity bill for June” — it is what you will scan in the list later.
4
Add the optional detail
Payee is a free-text vendor or person paid. Staff member (optional) links a salary expense to a staff account. Payment method records how it was paid, and Reference number stores a receipt or invoice number.
5
Save it
Select Record. The expense appears in the list immediately and is included in the Total spent (filtered) figure.
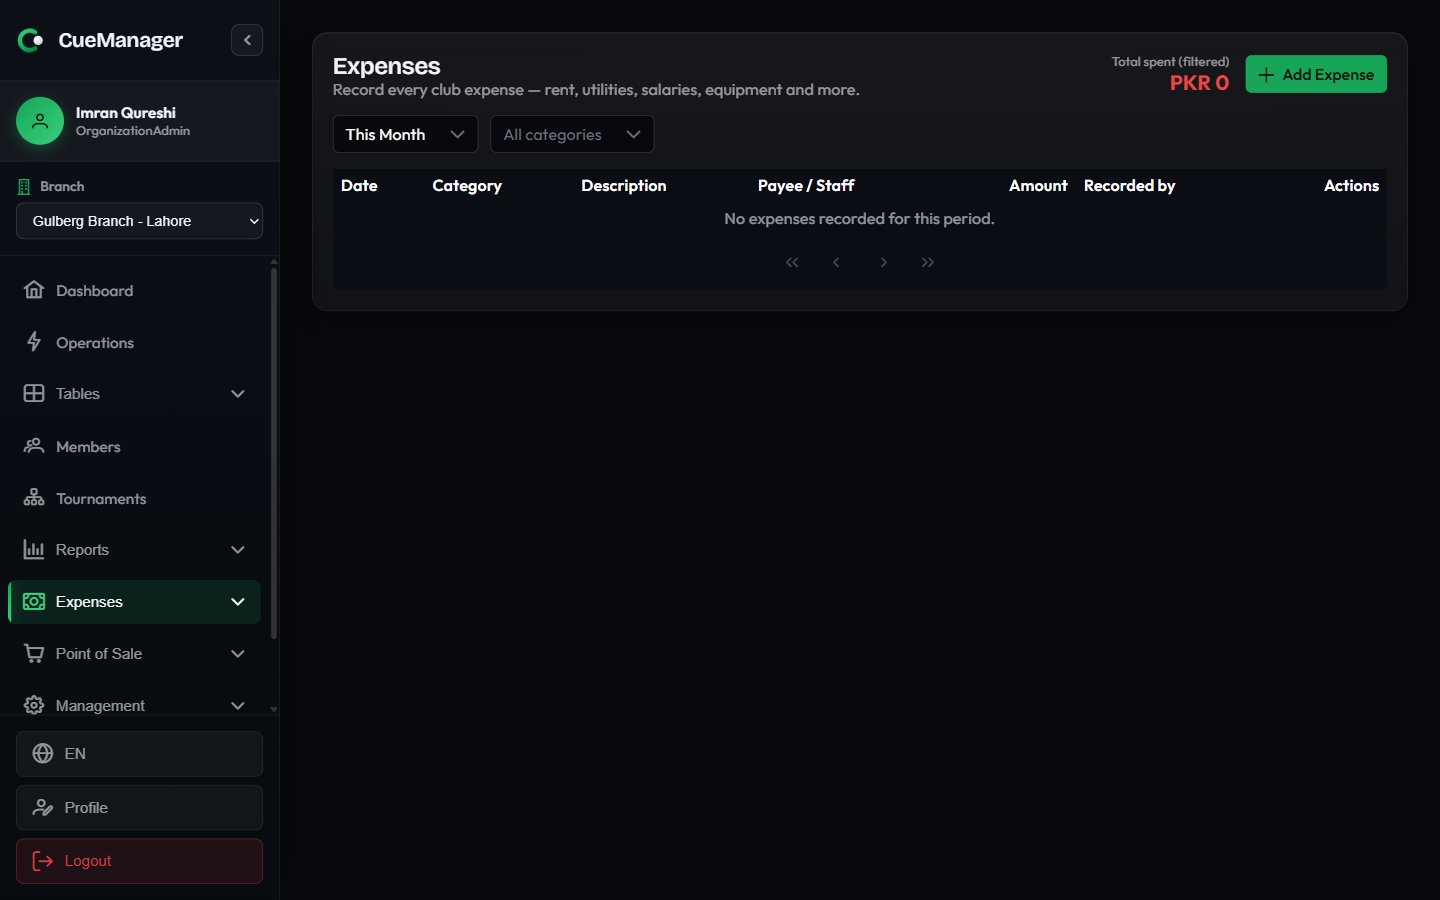
The expenses list, filtered by date range and category
The Staff member (optional) dropdown only appears if you can also view users. Without the Users module, salaries fall back to the free-text Payee field — see Users and roles.
Finding and correcting expenses
The list shows Date, Category, Description (with the reference number underneath, if any), Payee / Staff, Amount, and Recorded by — so you always know which staff member entered a record. Two filters sit above the table:- A date range: Today, Last 7 Days, Last 30 Days, This Month (the default), Last Month, or Custom with a date picker.
- A category filter, defaulting to All categories.
How expenses reach Profit and loss
Expenses are the cost side of the Profit & Loss report. For the selected date range and branch, that report totals your revenue (sessions, POS, memberships), subtracts the expenses recorded here, and shows net profit, profit margin, a daily revenue-versus-expenses chart, and a breakdown by category. The Reports dashboard also shows Total Expenses and Net Profit cards, with a link straight to the full report.Both surfaces are gated on the Expenses module, not just Reports: a user with Reports access but no Expenses access sees revenue only, and the expense and net-profit cards are hidden entirely. That is how you let a manager review takings without exposing salary totals.
- Dates drive the period. An expense lands in the period matching its Date field, not the day you typed it in. Backdating a bill to the month it belongs to keeps the monthly profit honest.
- Branch matters. An expense recorded in Gulberg Branch is counted against Gulberg Branch in the report’s By Branch table.
Related pages
Reports
The Profit & Loss report and everything else expenses feed.
Roles and permissions
Grant Expenses view, create, edit, or delete per user.
Branches
Each branch keeps its own categories and expense records.
Checkout and payments
The revenue side of the same picture.